

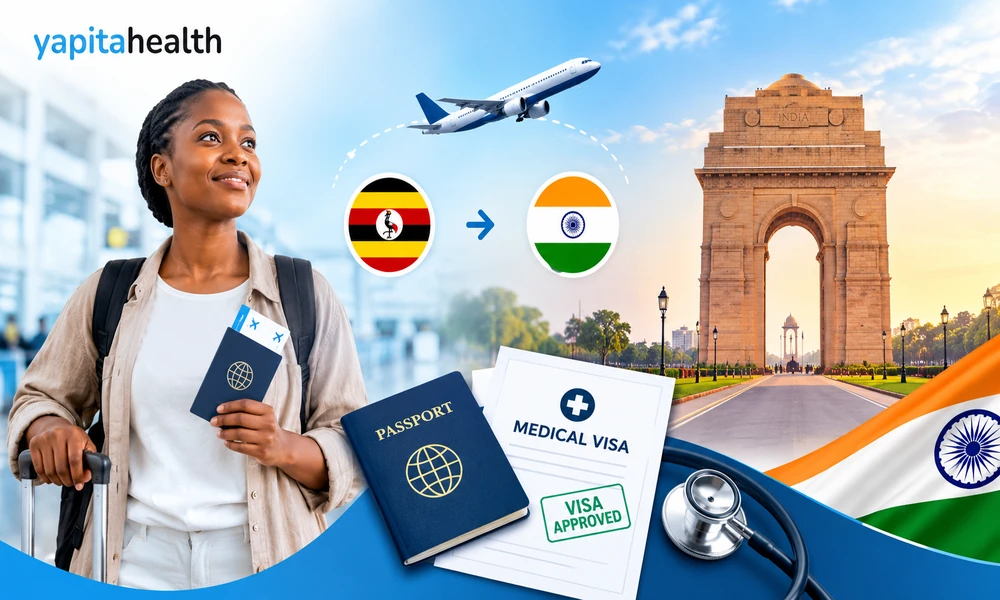
Travelling abroad for medical treatment can feel overwhelming, particularly when the journey involves choosing a hospital, arranging appointments, preparing documents, and obtaining the appropriate visa. India has become an important destination for international patients because of its advanced hospitals, experienced specialists, and comparatively accessible treatment costs.
For Ugandan patients considering treatment in India, understanding the visa process in advance can make the journey considerably smoother. Here is a practical guide covering the key steps, documents, and considerations involved in obtaining a Medical Visa to India from Uganda.
1. Obtain a Medical Opinion and Treatment Plan
Before beginning the visa process, obtain medical records that clearly explain your condition and proposed treatment. These may include diagnostic reports, laboratory results, imaging scans, prescriptions, and previous treatment summaries.
It is also advisable to contact an appropriate Indian hospital or specialist before applying. The hospital can review your medical information and provide an appointment or treatment letter when appropriate.
This document is particularly important because Indian e Medical Visa applications require a letter from the concerned hospital confirming the proposed treatment or tentative admission details.
2. Check Which Visa Route Applies
Do not assume that every foreign patient can automatically use India’s e Medical Visa facility. Eligibility depends on nationality and the current rules published by the Government of India.
The official e Visa eligibility list should therefore be checked before submitting an application. If the applicant is not eligible for an e Visa, the regular visa route may be required through the appropriate Indian mission or visa application centre.
The regular process generally involves completing the online application, submitting the required documents, attending an appointment where applicable, and receiving the passport with the visa after processing.
3. Prepare the Required Documents
Preparing documents carefully can help prevent avoidable delays. For an e Medical Visa, the official Indian visa portal lists a scanned passport bio page, a recent photograph, and a hospital letter as key supporting documents.
Applicants should also keep their medical reports, treatment recommendations, financial documents, travel plans, and other supporting paperwork organised. Requirements can vary according to the visa route and individual circumstances, so applicants should always follow the latest official instructions.
Your passport should generally have at least six months of validity when applying for an Indian e Visa and should have sufficient blank pages where required.
4. Complete the Application Carefully
Whether applying online for an eligible e Visa or following the regular visa procedure, accuracy matters. Enter your name, date of birth, passport information, nationality, travel details, and other personal information exactly as they appear on your official documents.
The Government of India advises applicants to carefully verify the information before submitting the form because modifications may not be possible after submission.
Photographs and scanned documents should also meet the specified technical requirements. Poor quality images, incorrect file formats, or inconsistent information can create unnecessary complications.
5. Pay the Applicable Visa Fee
Visa fees depend on the visa category and nationality. For e Visa applications, the Indian government states that fees are country specific and that applicable payment or bank transaction charges may also apply. The processing fee is generally non refundable, even if an application is refused.
Applicants should therefore use the official government portal and verify the current fee before making payment.
6. Track the Application and Plan Travel
After submission, keep the application reference details and monitor the email address used during registration. For e Visa applications, an Electronic Travel Authorization is issued by email when approved.
Applicants should confirm that the ETA shows the appropriate granted status before travelling and carry a copy during the journey. Indian authorities also require biometric information to be captured at immigration for e Visa travellers.
Do not book an expensive, non refundable medical travel itinerary solely on the assumption that the visa will be approved. Allow sufficient time for processing and consider possible changes to your treatment schedule.
7. Arrange the Medical Journey Beyond the Visa
A visa is only one part of successful medical travel. Patients should also confirm hospital appointments, accommodation, airport transfers, local transportation, medical documents, payment arrangements, and post treatment follow up.
Yapita Health is a medical tourism platform that helps international patients connect with suitable doctors, hospitals, and consultation services in India and other healthcare destinations. For patients travelling from Uganda, the platform can assist with comparing hospitals, arranging specialist consultations, communicating with healthcare providers, and coordinating key aspects of the treatment journey. Patients should nevertheless evaluate their options carefully, seek advice from qualified medical professionals, and understand the associated services and costs before proceeding.
Final Thoughts
Applying for an Indian medical visa becomes much more manageable when patients approach the process methodically. Start by obtaining a clear medical assessment, secure the appropriate hospital documentation, verify visa eligibility, prepare accurate paperwork, and follow the latest instructions issued by Indian authorities.
Most importantly, treat visa preparation and medical planning as connected but separate tasks. Careful preparation can reduce administrative stress and allow patients to focus on what matters most: receiving appropriate medical care and returning home safely.
